


可以尝鲜玩玩,生产环境不建议直接升级!
准备工作
sudo apt update && sudo apt upgrade
使用下面的命令安装 gcc-8-base 包。这是必须的,因为在历史上曾出现过升级失败的情况,这是因为下面的软件包中包含了某些依赖。
sudo apt install gcc-8-base
出现command not found的话说明没有sudo,可以安装先,顺便把wget和curl也装上:
apt install sudo wget curl
直接切换root:
sudo -i
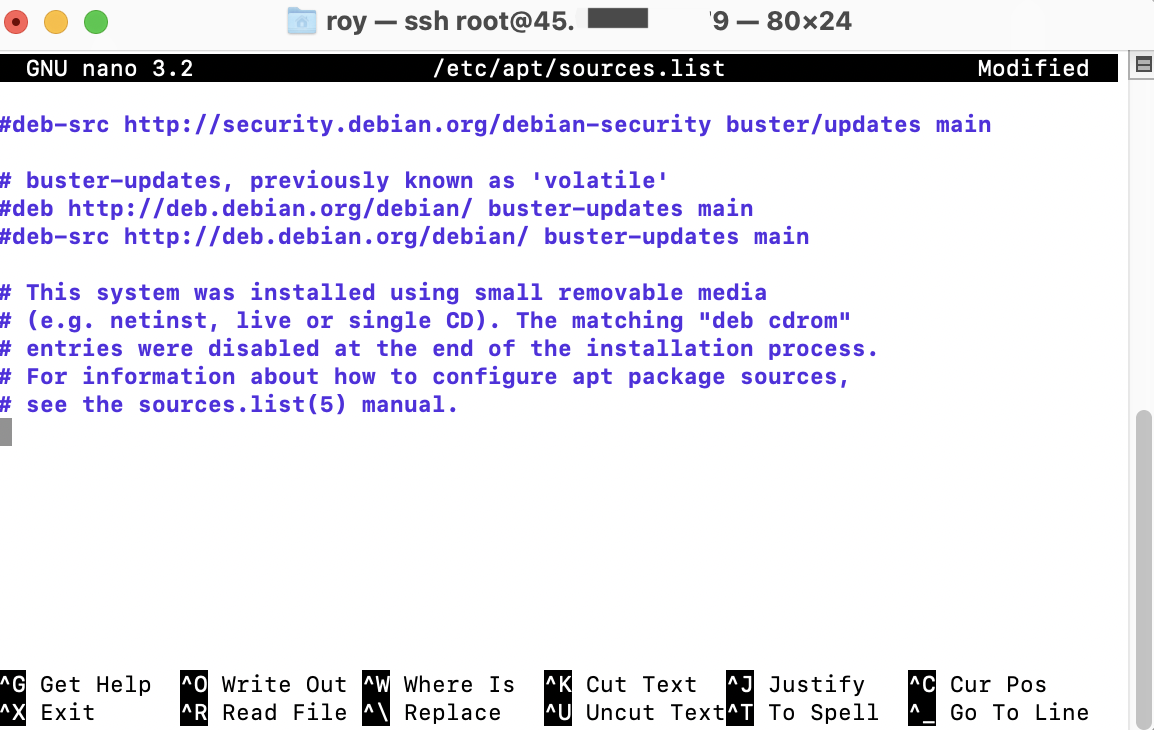
nano /etc/apt/sources.list
打开 /etc/apt/sources.list,通过注释 Debian 10 buster 包,而使用 bullseye 仓库进行更新。
注释所有的 buster 仓库,在行的开头加上 #。
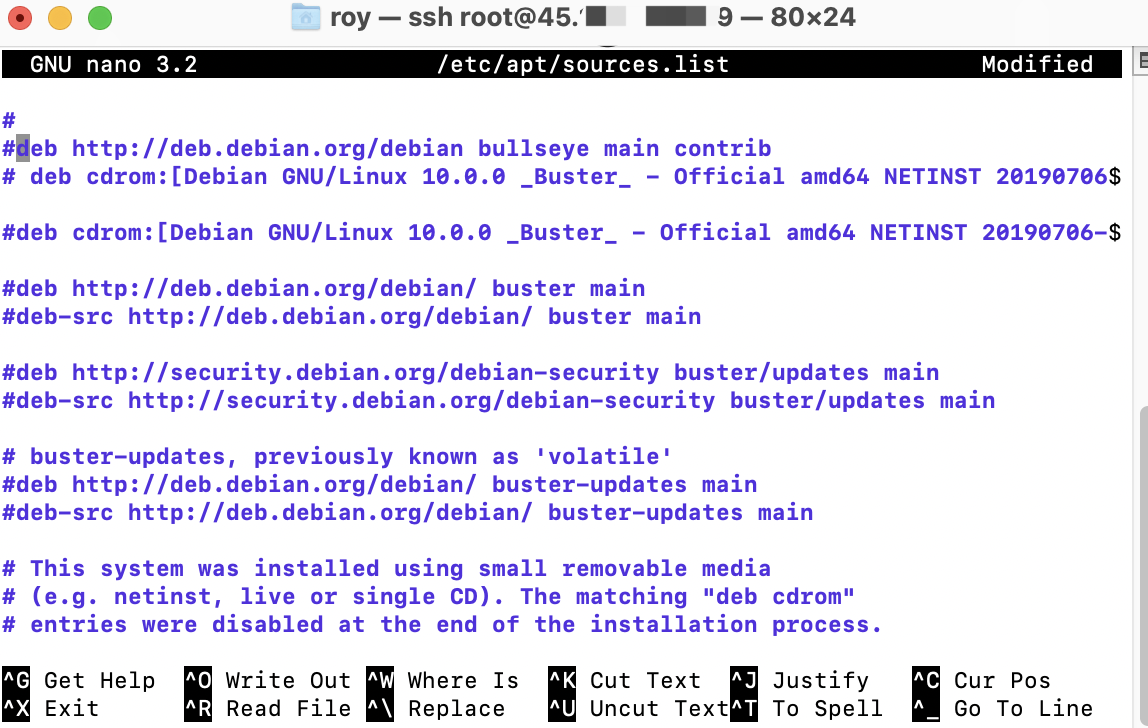
deb http://deb.debian.org/debian bullseye main contrib non-free
deb http://deb.debian.org/debian bullseye-updates main contrib non-free
deb http://security.debian.org/debian-security bullseye-security main
deb http://ftp.debian.org/debian bullseye-backports main contrib non-free
国内机子也可以用清华的源:
# 默认注释了源码镜像以提高 apt update 速度,如有需要可自行取消注释
deb https://mirrors.tuna.tsinghua.edu.cn/debian/ bullseye main contrib non-free
# deb-src https://mirrors.tuna.tsinghua.edu.cn/debian/ bullseye main contrib non-free
deb https://mirrors.tuna.tsinghua.edu.cn/debian/ bullseye-updates main contrib non-free
# deb-src https://mirrors.tuna.tsinghua.edu.cn/debian/ bullseye-updates main contrib non-free

deb https://mirrors.tuna.tsinghua.edu.cn/debian/ bullseye-backports main contrib non-free
# deb-src https://mirrors.tuna.tsinghua.edu.cn/debian/ bullseye-backports main contrib non-free

deb https://mirrors.tuna.tsinghua.edu.cn/debian-security bullseye-security main contrib non-free
# deb-src https://mirrors.tuna.tsinghua.edu.cn/debian-security bullseye-security main contrib non-free
sudo apt update
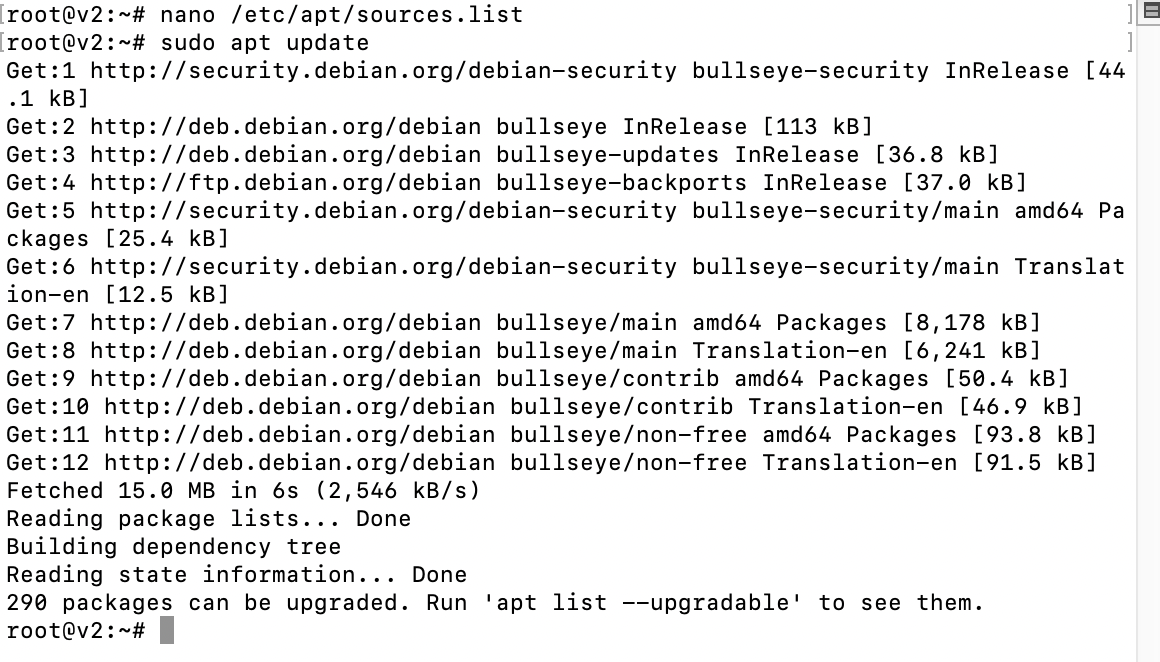
如果上面的命令没有出现任何错误,那么你已经成功地添加了 bullseye 仓库。
开始升级
现在,通过运行下面的命令开始升级过程。基本安装的下载大小约为 1.2GB。这可能会根据你的系统配置而有所不同。
sudo apt full-upgrade
输入q
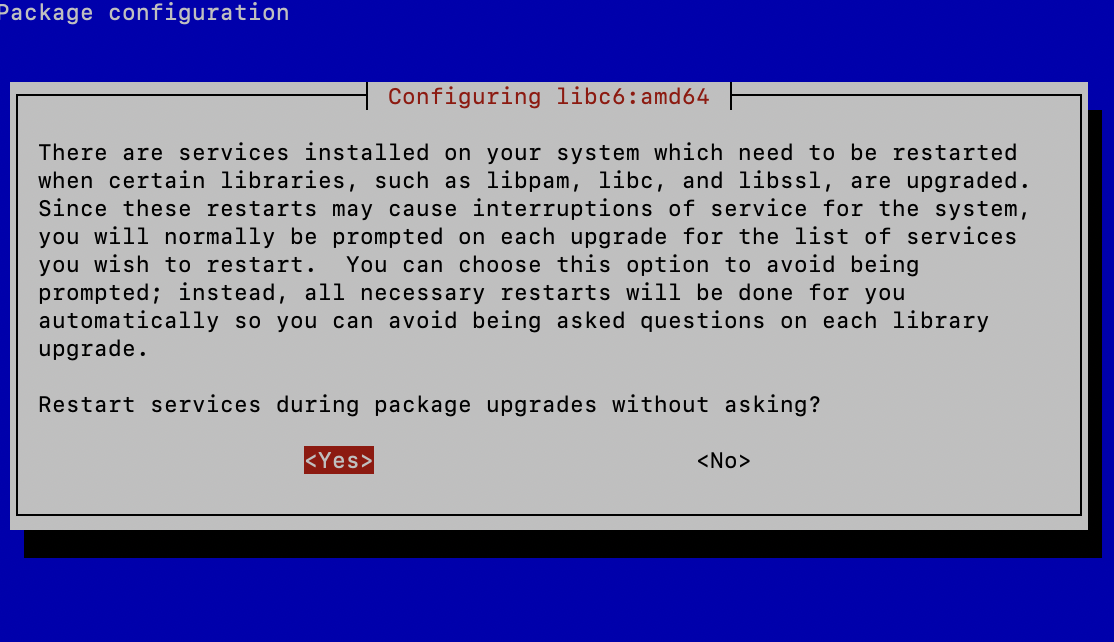
选择y
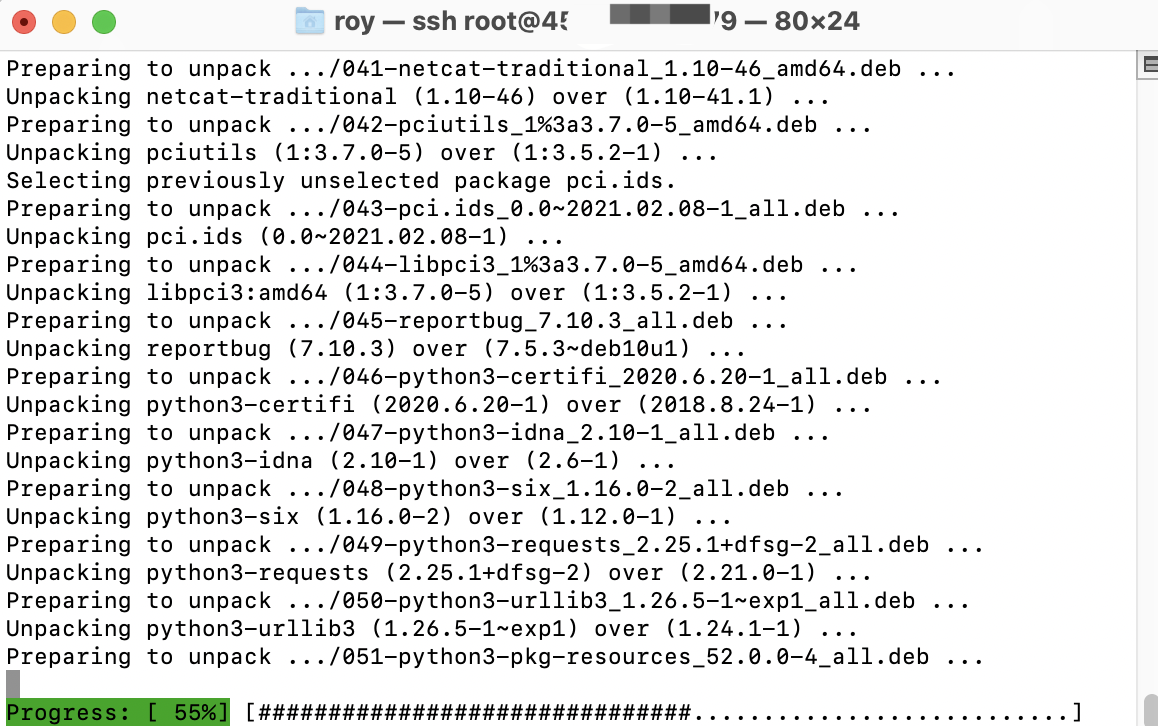
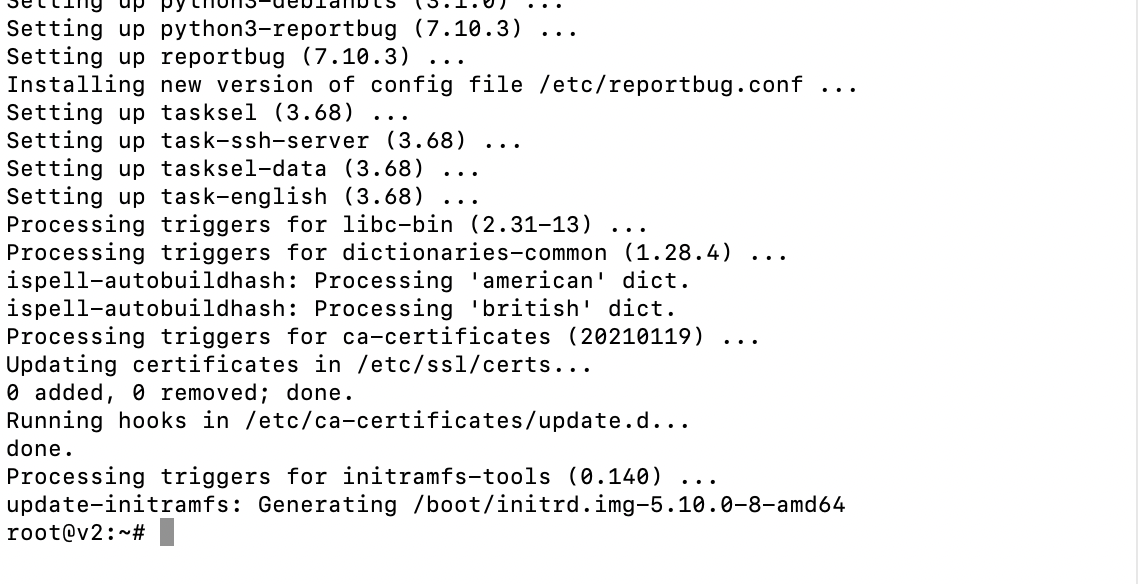
升级中
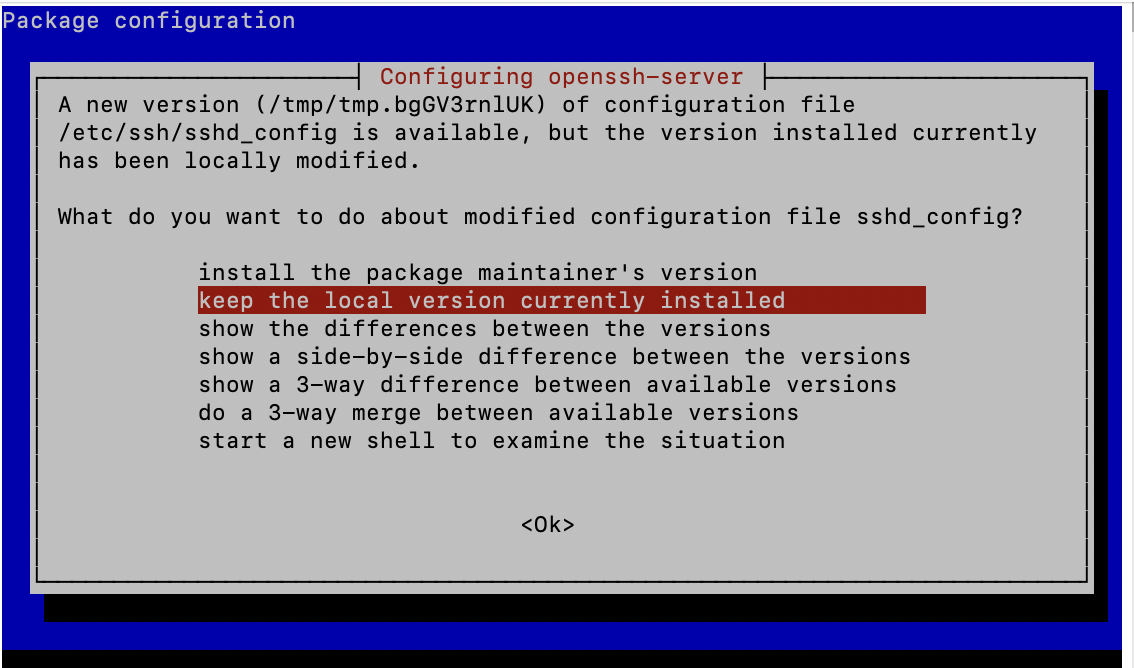
回车
完成后,你可以用以下命令重启系统。
systemctl reboot
升级成功
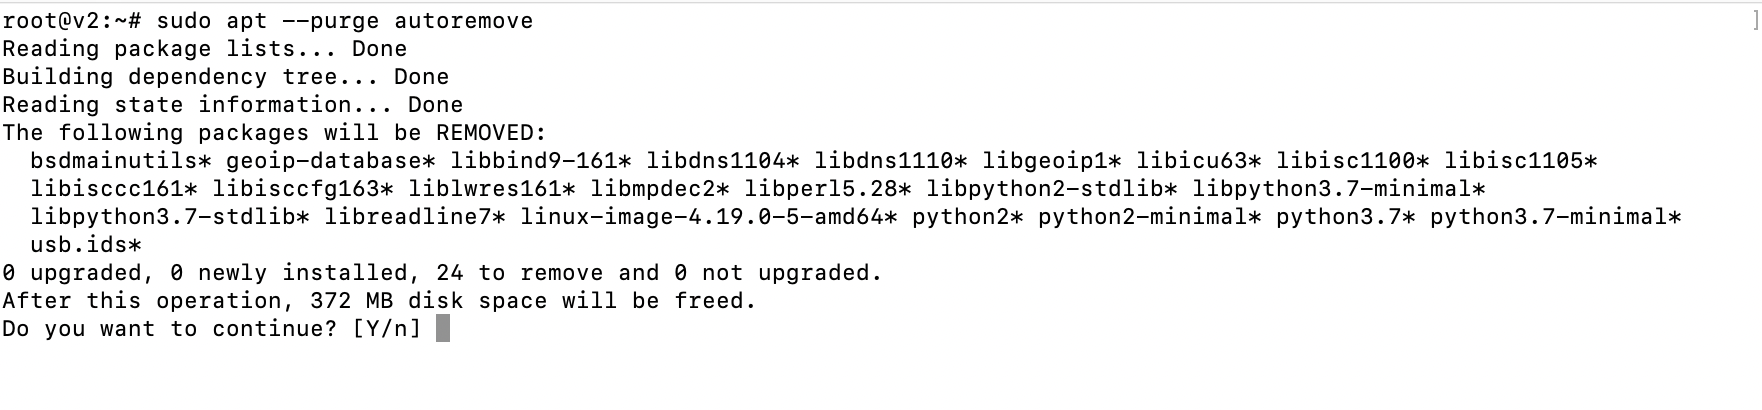
重启后,运行以下命令,以确保你的系统是最新的,并且清理了所有不再需要的不必要的软件包。
sudo apt --purge autoremove
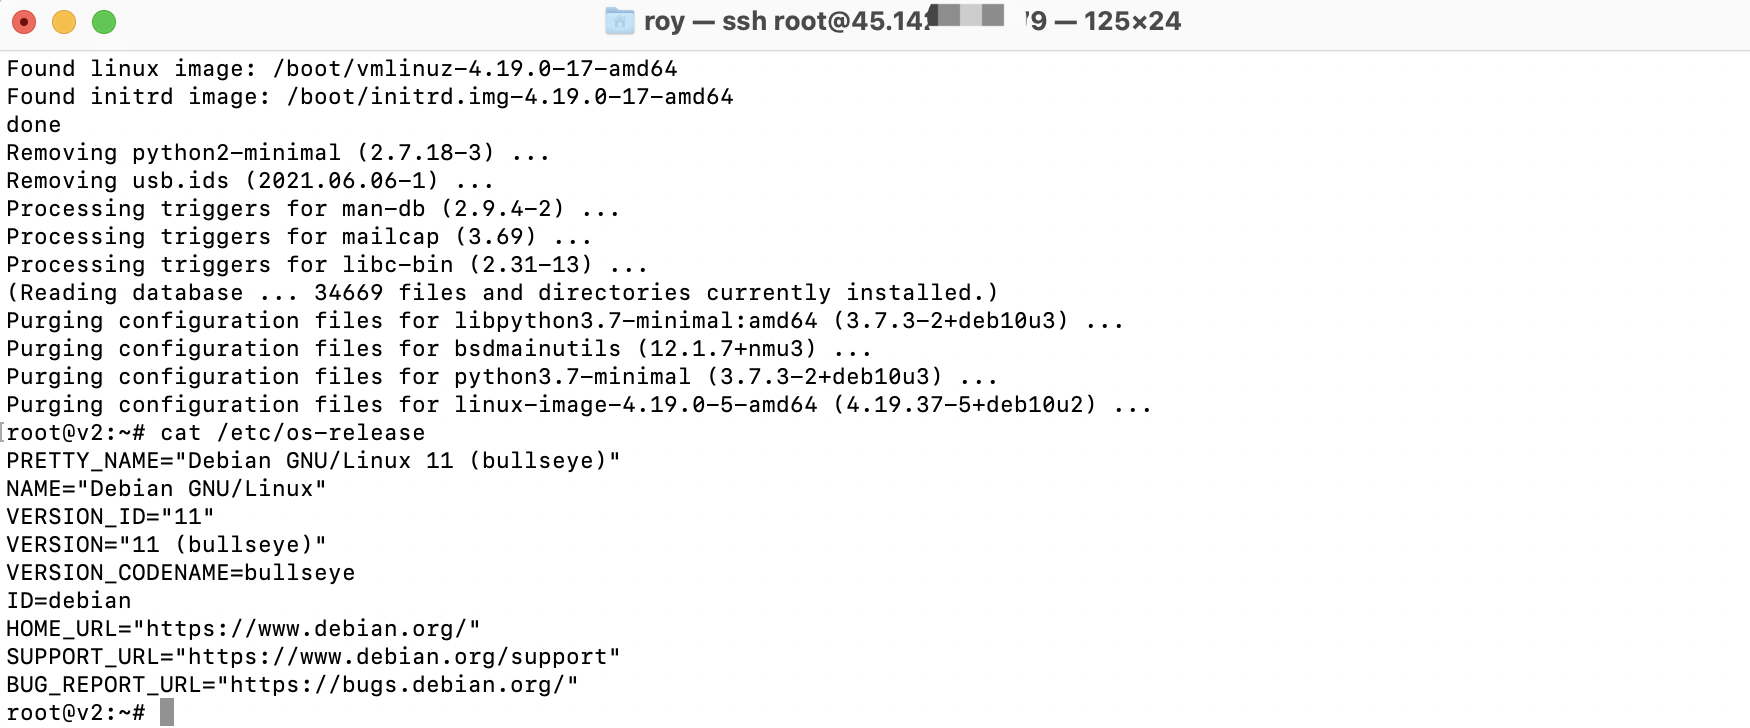
如果一切顺利,你应该看到了 Debian 11 bullseye。你可以用下面的命令来验证版本:
cat /etc/os-release

开启自带BBR加速
sudo nano /etc/sysctl.conf
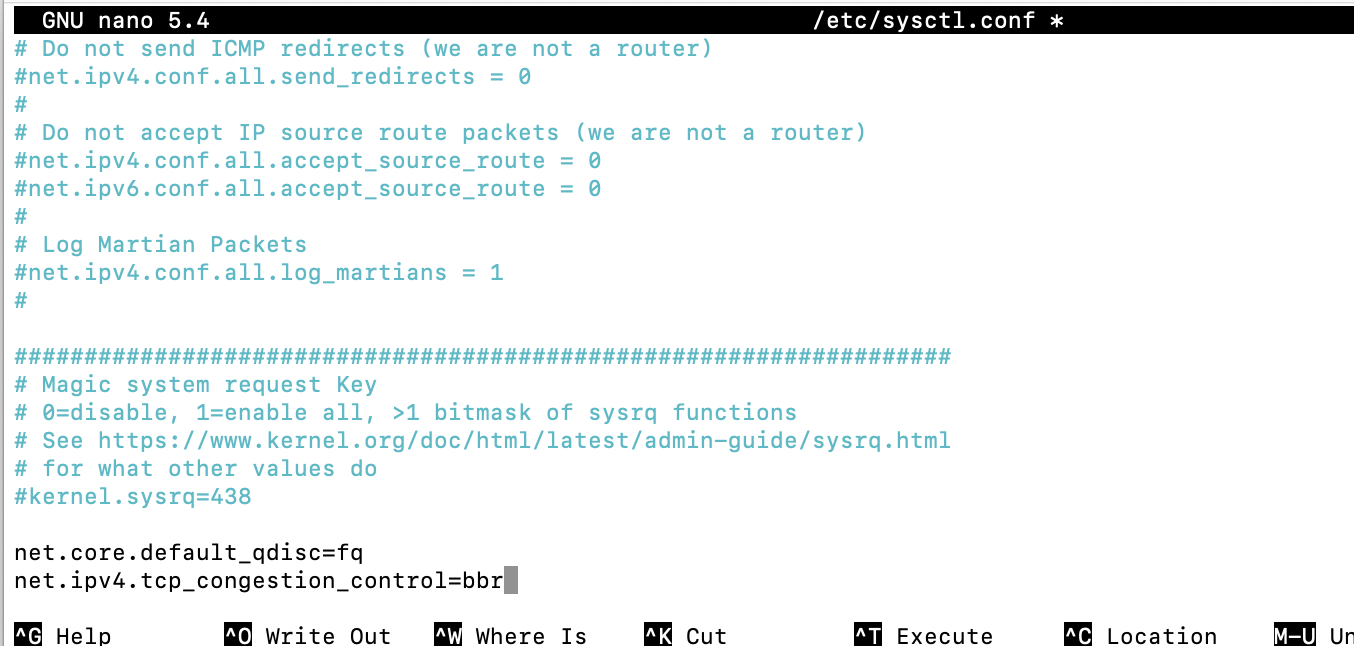
修改 kernel 参数配置文件 sysctl.conf 并指定开启 BBR
sudo nano /etc/sysctl.conf
把下面的内容添加进去
net.core.default_qdisc=fq
net.ipv4.tcp_congestion_control=bbr
重启VPS、使内核更新和BBR设置都生效
sudo reboot
ctrl+x 接着 y,然后按下 Enter
确认BBR开启
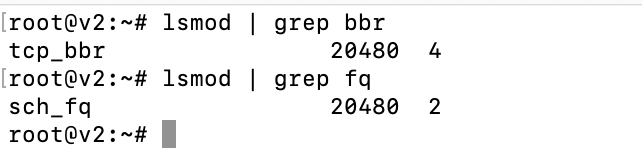
如果你想确认 BBR 是否正确开启,可以使用下面的命令:
lsmod | grep bbr
此时应该返回这样的结果:tcp_bbr
如果你想确认 fq 算法是否正确开启,可以使用下面的命令:
lsmod | grep fq
此时应该返回这样的结果:sch_fq
完工
如有问题欢迎评论区交流指正


评论区